
A Complete Guide on How to Remove Mirrors
- 130
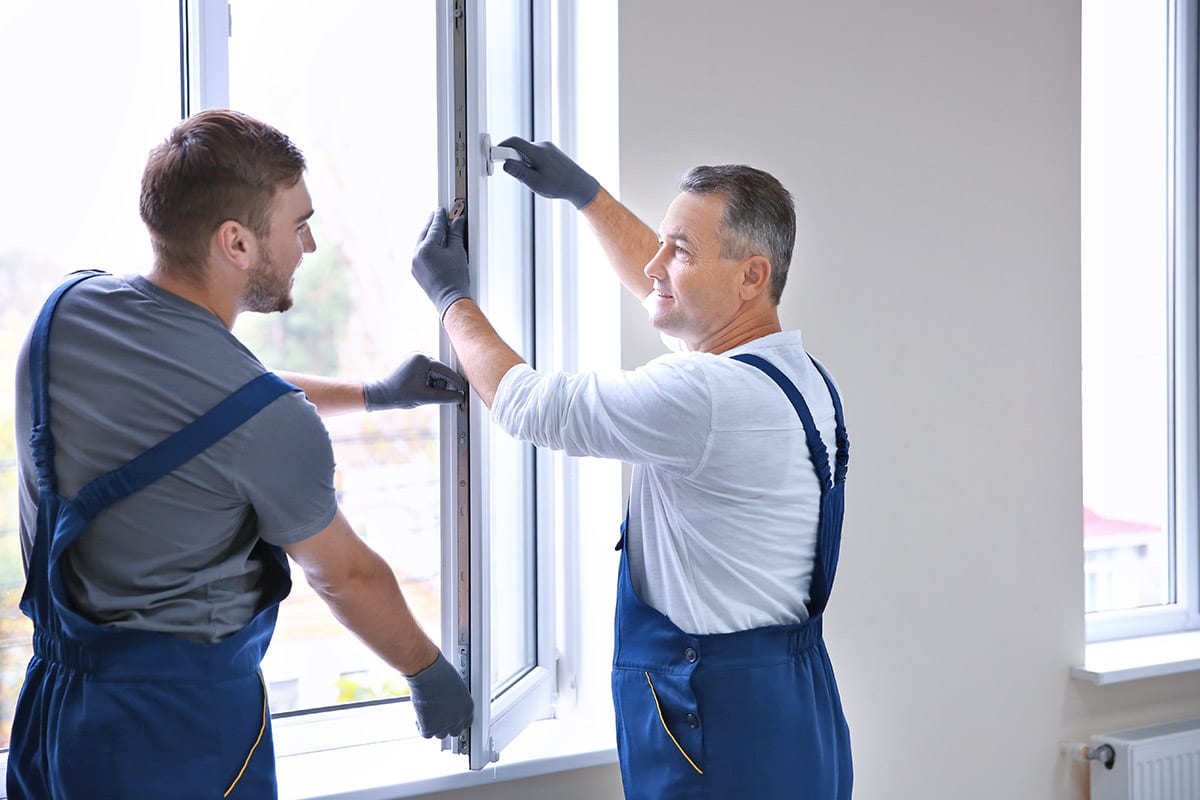
Mirrors can be found in many places such as bathrooms, kitchens, hallways and bedrooms. These are perfect locations to have a mirror because it provides the necessary lighting for these spaces. Mirrors also provide the illusion of extra space that is usually not present. However, mirrors are associated with many superstitions which may lead to unwanted behavior and can even cause health issues if you do not remove them properly.
Of course, when removing mirrors from a home or from appliances, you should make sure the surface is clean before attempting to remove it entirely because they can leave behind residual dust or debris on the surface they were previously attached too. This bit of information is important to note before you begin to remove your mirrors.
If you have attached a mirror in a bathroom or bedroom, you must locate and remove the old adhesive before attempting to remove the mirror. It is best to start with the mirrors that are sturdier because they will take longer and possibly go through more steps than the ones that are weak or fragile.
Step 1
Required Materials and Tools:
To remove mirrors, you will need to purchase some tools and materials such as:
- A flathead screwdriver;
- Plastic scraper;
- Tarp or newspaper;
- A tack cloth and/or wet rag;
- An empty plastic container;
- A hammer;
- A pair of small side-cutters;
- Two large and rough hands depending on how big the mirror is;
- A flathead screwdriver and some tweezers, if necessary;
- Some liquid soap and warm water, a scrub brush and/or soft scrub pad, some gloves that you don’t mind getting dirty, eye protection (optional).
Step 2
Removing the Mirror or Its Hooks:
Remove the old adhesive by applying some gentle force with a pair of pliers or something similar to break the seal between the mirror and its support system (i.e., wall or frame).
When removing your mirror, you must make sure that you do it in small sections so that you can ensure that the surface is completely clean before trying to remove it entirely. If you do not want to use an adhesive remover, then you should use a scraper or razor blade to scrape off any remaining adhesive.
Some mirrors may not come with hooks attached. If your mirror does not have hooks, then you are in luck because this article will show you how to remove these mirrors with no hooks. You need to purchase a pair of scissors or a nail punch to help get the mirror free from the frame or frame where it is attached. You may need a tool that acts as a pry bar and it can be used by hand or with a power tool.
Step 3
Repairing the Surface:
After removing all of the adhesive, it is time for your last step and that is repairing the surface which was left behind. Depending on how fragile the surface is, you can use a tack cloth or paper towel, or a rag and water. Don’t let the surface get too wet because you want it to be dry before proceeding to the next step.
Step 4
Using a Hook:
You can attach your new mirror to a wall by purchasing some hooks for this purpose. Do not skip this step because you will need these hooks once you have successfully removed your mirrors from their previous locations.
Step 5
The Final Step:
Once you have attached one hook to the wall, attach a second hook using an Allen wrench to attach the mirror even further. You may find that when you are removing your mirror from its original location, it is not attached to anything and will just fall off of its own accord. If this occurs, try not to let it hit the floor because that may damage the surface of your mirror. Also, don’t put too much force on your mirror as it may crack and break if you do so.
The hooks should be long enough so that there is enough room for you to completely remove your mirrors from their solid surfaces.
Bottom line
You must ensure the surface of your mirror is completely clean and that there is no remaining residue on it. This will ensure that your mirror will not suffer damage if you choose to remove it all together with the hooks or adhesive.